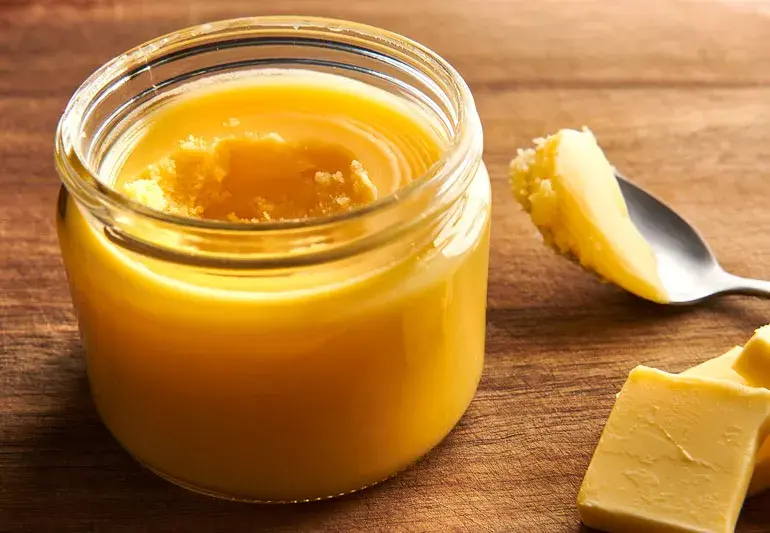
What is Ghee?
Ghee is essentially clarified butter taken one step further. While clarified butter simply has the milk solids removed, ghee is cooked until those milk solids brown slightly, creating a distinctive nutty flavor. This process not only enhances the taste but also increases the smoke point dramatically—from butter’s 350°F to ghee’s impressive 450°F or higher. Making ghee at home is not only cost-effective but also allows you to control the quality of ingredients. This traditional cooking fat, derived from butter, offers unique benefits and a rich, nutty flavor that makes it a valuable addition to any kitchen.
Benefits of Homemade Ghee
- Higher Smoke Point: Unlike regular butter, ghee won’t burn at high temperatures, making it ideal for sautéing, frying, and other high-heat cooking methods.
- Potential Dairy Sensitivity Solution: Since the milk solids (including casein and whey proteins) are removed during the process, some people with mild dairy sensitivities can enjoy ghee when they can’t tolerate regular butter.
- Cost-Effective: Making ghee at home is significantly more economical than purchasing it pre-made, especially if you use it frequently.
- Pure, Natural Ingredients: When you make ghee yourself, you have complete control over the quality of butter used and the entire production process.
Step-by-Step Guide – How to Make Ghee at Home
What You’ll Need
- High-quality butter (salted or unsalted)
- Heavy-bottomed saucepan
- Cheesecloth or fine strainer
- Clean glass jar for storage
- Spoon for skimming
Instructions
- Prepare the Butter Cut your butter into chunks and place it in a heavy-bottomed saucepan. This helps it melt more evenly.
- Begin Melting Heat the butter over medium-low heat. Watch as it begins to melt completely.
- First Separation As the butter melts, it will start to bubble and separate. You’ll notice a white, foamy layer forming on top—this is the whey protein.
- Remove the Whey Carefully skim off the whey from the surface. You can save this for use in other recipes (like mashed potatoes) or compost it.
- Watch for Clarification Continue cooking until the butter becomes clear and you can see milk solids settling at the bottom of the pan. At this stage, you’ve made clarified butter.
- Create Ghee Keep cooking until those milk solids at the bottom turn a golden brown color. This is the crucial step that transforms clarified butter into ghee, developing that characteristic nutty flavor. Be careful not to let them burn.
- Strain and Store Let the ghee cool slightly, then strain it through cheesecloth or a fine strainer into a clean glass jar. This removes any remaining milk solids.
Storage Tips
- Properly strained ghee can be stored at room temperature in an airtight container.
- If you choose not to strain it thoroughly, store your ghee in the refrigerator.
- A well-made batch of ghee can last several months when stored properly.
Using Your Homemade Ghee
Ghee is incredibly versatile in the kitchen. Here are some popular ways to use it:
- Sautéing vegetables
- Making Indian dishes
- Popping popcorn
- Roasting vegetables
- As a spread on bread
- In baking recipes
- For high-heat cooking methods
Important Note
While ghee can be a wonderful alternative for those with mild dairy sensitivities, anyone with severe dairy allergies should consult their healthcare provider before incorporating ghee into their diet.
Final Thoughts
Making ghee at home is a rewarding process that yields a versatile, flavorful cooking fat. With just a few simple steps and some patience, you can create this golden elixir that enhances everything it touches. Give it a try—your cooking will thank you!

No responses yet